Creative Kitchen Wall Stickers That Add Pattern Without the Commitment
Patterned wall stickers make it easy to refresh a kitchen in minutes—no paint fumes, no grout, no long prep. They’re especially handy in hard-working spaces where cabinets, countertops, and tile often keep the look practical but a little flat. With the right placement and a bit of planning, removable patterns can feel surprisingly “built-in,” whether you’re renting, testing a bold style, or just craving a quick change between seasons.
Because they don’t require sanding, adhesives, or open containers of paint, they can also be a more comfortable option for indoor updates—especially when you’re mindful about ventilation and air quality. The U.S. Environmental Protection Agency shares helpful guidance on maintaining healthy indoor air quality, which is a smart read before any indoor refresh.
What patterned wall stickers change in a kitchen
- Add visual rhythm and contrast in spaces that often rely on plain tile, cabinets, and counters.
- Create a focal point on a small wall, niche, or breakfast corner without remodeling.
- Mask minor scuffs or uneven paint on a pantry wall or behind open shelving.
- Offer a low-commitment “test run” for bold patterns before investing in tile or wallpaper.
Best places to use them (and where to avoid)
The best kitchen sticker installs look intentional because they’re placed where the eye naturally lands—and where the surface stays relatively calm.
Ideal spots
- Pantry doors or a tall pantry wall panel
- Breakfast nook walls (especially a half-wall or bench-back area)
- The side of a fridge (if it’s a smooth, sticker-friendly finish)
- A blank stretch between upper cabinets and a window trim line
- A coffee station backdrop to “zone” the area
Use caution here
- Backsplash zones: workable only if kept away from direct heat and frequent splashes. In high-splash areas, a clear protective panel can help keep edges from lifting.
- Directly behind gas burners: avoid; sustained heat and grease are tough on adhesives and can shorten lifespan quickly.
- Heavy steam paths: avoid areas right above boiling pots unless the surface stays relatively cool and is easy to wipe often.
- Heavily textured walls: alignment is harder and adhesion can be unreliable.
Surface checklist: what sticks well and what needs extra prep
Removable stickers love clean, smooth surfaces. Kitchens, however, come with invisible grease film—especially near cooktops and along upper cabinet lines—so cleaning is the difference between “crisp and flat” and “mysteriously peeling corners.”
- Smooth, clean, fully cured paint performs best. If you’ve painted recently, wait until it’s fully cured before applying.
- Glossy finishes can work well, but only after thorough degreasing so the adhesive can grip.
- Porous or dusty surfaces reduce adhesion—cleaning and full drying are essential.
- Always test first with a small piece in an inconspicuous area, especially on matte paint, old paint, or laminate panels.
Quick compatibility guide for common kitchen surfaces
| Surface |
How it usually performs |
Prep tips |
| Painted drywall (smooth) |
Best overall |
Wash with mild soap, rinse, dry; avoid applying to freshly painted walls until fully cured |
| Semi-gloss / glossy paint |
Good with proper cleaning |
Degrease thoroughly; dry completely; press firmly along edges |
| Tile (smooth glazed) |
Often works well |
Clean grout haze/grease; dry; align using grout lines as guides if doing a pattern |
| Textured walls (orange peel / heavy texture) |
Unreliable |
Not recommended; consider a smooth panel or apply to a smoother nearby surface |
| Wood / laminate panels |
Varies by finish |
Clean with non-oily cleaner; test first to ensure removal won’t lift finish |
Measuring and planning for a patterned look
Pattern looks most “real” when it has a deliberate boundary. Before peeling anything, decide what the pattern is doing in the room.
Application steps for crisp edges and fewer bubbles
- Clean the surface: remove grease film with a mild degreaser, rinse, and let it dry fully. The CDC’s guidance on cleaning and disinfecting is a useful baseline for choosing effective, surface-appropriate cleaners.
- Dry-fit first: lightly position the sticker to confirm alignment and spacing before fully pressing.
- Peel and stick gradually: adhere from top to bottom (or center outward), smoothing as you go.
- Push air out: use a soft squeegee or a credit card edge wrapped in cloth to move bubbles toward edges.
- Set the edges: press firmly along borders and corners; re-press after 10–15 minutes once the adhesive settles.
How to remove them with minimal residue
Styling ideas that make the pattern feel built-in
Care and longevity in a working kitchen
A quick upgrade pick for patterned walls
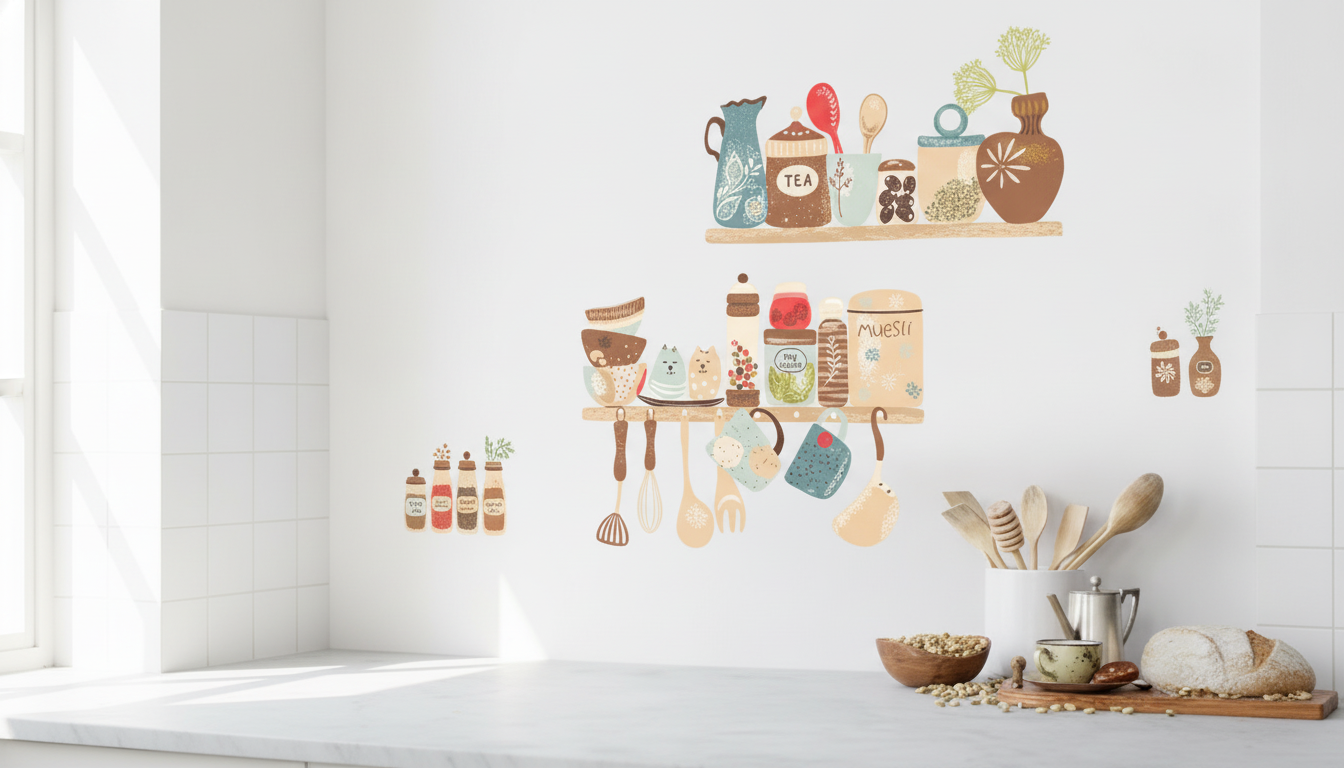
If you want a fast, renter-friendly refresh, Creative Kitchen Wall Stickers – Removable Patterned Home Décor are a simple way to add pattern exactly where your kitchen needs it most—without committing to tile or wallpaper.
To make the look feel cohesive, pair your new pattern with a warm overhead texture like the Handmade Wabi Sabi Rattan Pendant Light. Natural fibers soften bold geometry and help the update read as a design choice rather than a temporary fix.
FAQ
Will removable kitchen wall stickers damage paint when removed?
Usually they remove cleanly from fully cured, good-quality paint when peeled slowly at a low angle. If the surface is older or very matte, gentle warmth from a hair dryer on low can reduce the chance of lifting paint.
Can patterned wall stickers be used near a backsplash or sink?
They can work in lower-splash areas if the surface is smooth and you keep it as dry as possible. Frequent water exposure and scrubbing can shorten their lifespan, so give them distance from direct spray and heat.
How do you avoid bubbles and misaligned patterns?
Start from a level reference line and apply gradually while smoothing outward. Dry-fitting, marking guides with painter’s tape, and starting repeating patterns at the center all help keep the layout crisp.
Recommended for you








Leave a comment