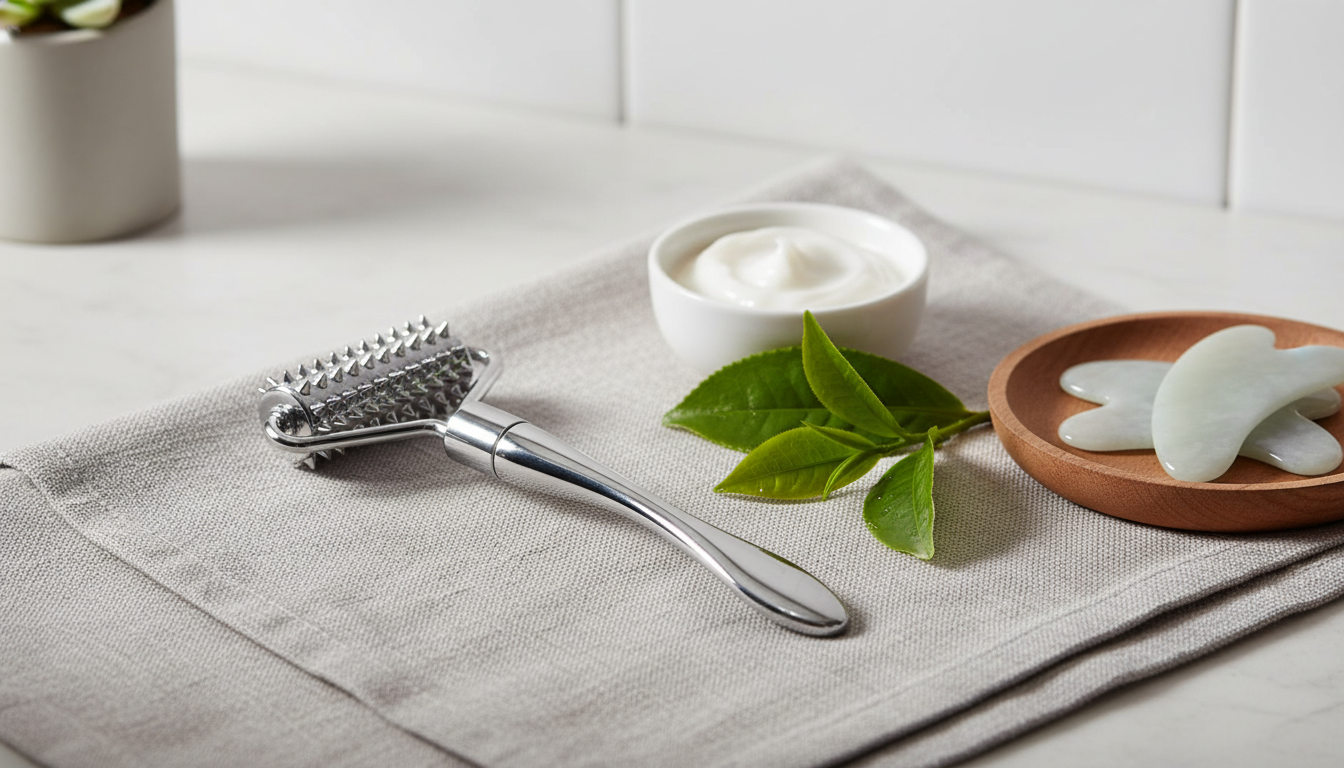
A microneedle facial roller is a simple, at-home tool designed to support smoother-looking skin by combining gentle rolling massage with micro-needling action. This zinc alloy manual roller is built for easy handling and consistent pressure, making it a practical option for people who want to add a focused firming and wrinkle-care step to their routine—while still prioritizing hygiene, comfort, and skin safety. For more guidance, see 11 Best Face Massagers for Tighter, Brighter Skin – Vogue.
What This Roller Is Designed to Do
Used thoughtfully, a microneedle facial roller can complement a basic skincare routine by adding controlled stimulation plus a light massage effect. Results vary by skin type, consistency, and how carefully it’s used, but many people reach for tools like this when they want a more refreshed look without complicated devices. For further reading, see 9 Best Face Massager Tools to Instantly Depuff and Define | Allure.
- Supports the look of firmer skin by encouraging a more refreshed, tightened appearance over time when used consistently.
- Helps soften the look of fine lines by pairing rolling massage with controlled micro-needling stimulation.
- Pairs well with a routine that includes hydrating and barrier-supporting products (used at the right time, with the right precautions).
- Manual design keeps the routine straightforward—no charging, settings, or complicated attachments.
For an overview of microneedling basics and safety considerations, see guidance from the American Academy of Dermatology Association and the Cleveland Clinic.
Zinc Alloy Build: Why the Material Matters
Material affects how a tool feels and performs in real use. A zinc alloy body is often chosen for durability and a steady, weighted feel—useful when you’re trying to keep pressure light and consistent (rather than pressing harder to “feel” the tool working).
- Zinc alloy construction is typically chosen for sturdiness and a solid feel in hand, which can help maintain steady rolling control.
- A durable body can improve stability during use, especially around curved areas like the jawline and cheekbones.
- A firm, well-weighted handle can make light pressure easier to maintain (important for comfort and reducing irritation).
- Material choice does not replace hygiene—proper cleaning and storage remain essential after every use.
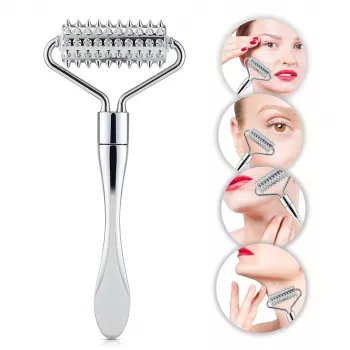
Best-Use Areas and Technique Basics
Technique matters more than speed or force. The goal is controlled contact: short, even passes that minimize tugging and reduce the chance of irritation.
- Common areas: cheeks, forehead (avoiding the immediate eye area), jawline, and neck (if skin tolerates it).
- Use light, even pressure; the goal is controlled contact rather than force.
- Roll in short passes and lift between passes rather than dragging back and forth aggressively.
- Avoid active breakouts, irritated patches, sunburn, or any area with cuts, rashes, or infection.
- Stop if stinging, persistent burning, or unusual swelling occurs; skin should calm down shortly after a session.
Simple rolling pattern by area
| Area |
Direction options |
Notes |
| Cheeks |
Upward + outward passes |
Avoid broken skin; keep pressure light |
| Forehead |
Horizontal passes |
Stay away from eyelids and lash line |
| Jawline |
Upward passes toward ear |
Use shorter passes along curves |
| Neck |
Upward, very light passes |
Patch-test tolerance; neck can be reactive |
A Practical Routine and Frequency
With at-home tools, less can be more—especially at the start. Overuse can leave skin feeling tight, dry, or more reactive than usual, so it’s better to build slowly and prioritize recovery days.
Beginner-friendly schedule (adjust to tolerance)
| Week |
Frequency |
Session length |
Focus |
| 1–2 |
1x per week |
3–5 minutes |
Technique, light pressure, comfort check |
| 3–4 |
1–2x per week |
5–7 minutes |
Even coverage; avoid sensitive zones |
| 5+ |
Up to 2x per week (if well-tolerated) |
5–10 minutes |
Consistency and recovery between sessions |
Product Pairing: What to Use Before and After
Cleaning, Storage, and When to Replace
Quick hygiene checklist
| Step |
What to do |
Why it matters |
| 1. Rinse/clean |
Remove visible residue promptly |
Keeps the needle surface clear |
| 2. Disinfect |
Use an appropriate disinfecting method per instructions |
Reduces contamination risk |
| 3. Dry |
Air-dry completely |
Prevents moisture-related issues |
| 4. Store |
Protect from dust and contact |
Maintains cleanliness and needle integrity |
Who Should Skip At-Home Microneedling
Microneedle Facial Roller – Product Details and Where to Get It
More In-Stock Finds
FAQ
How often should a microneedle facial roller be used?
Start with once weekly, then increase to up to twice weekly only if your skin stays calm with minimal redness and no lingering sensitivity. Prioritize rest days between sessions and wear sunscreen daily.
What should be put on skin after using a microneedle roller?
Use gentle, fragrance-free hydration such as a simple moisturizer to support comfort. Skip strong acids, high-strength retinoids, and heavily fragranced products immediately afterward to reduce irritation risk.
Can a microneedle roller be used on acne or irritated skin?
No—avoid rolling over active breakouts, inflamed areas, or broken skin. Doing so can increase irritation and raise the risk of spreading bacteria; wait until skin is calm and intact.
Recommended for you


Leave a comment